A Quick-Start Guide to Lacto-Fermenting
By Brandon Muhawi
Senior Food Writer at Pro Home Cooks
Lacto-fermentation - big words quickly become intimidating in the context of a home kitchen. A majority of home cooking relies on very basic techniques - stir-frying, boiling, roasting, etc. For home cooks who desire to take a step further, fermentation is a fun way to add some new flavors to your repertoire. In recent years, the surge of education regarding fermented foods has made the process more popular at home. The rise in popularity of fermented foods like kimchi and sourdough and YouTube resources like Brad Leone or our very own Pro Home Cooks have helped introduce fermentation into mainstream home cooking. Even famed restaurant NOMA, which has its own fermentation food lab, published an entire book on the subject to make their discoveries and information more accessible to the general public. But why ferment anything?

What is lacto-fermentation?
It’s important to have a basic understanding of how lacto-fermentation works to understand why we might do it. Lacto-fermentation is the process of lactic acid bacteria (LAB) digesting carbohydrates and converting them into lactic acid. This converts the sweet flavors of the ingredient into sour ones. LAB or lactobacillales are found on the skins of fruits and vegetables which is how the whole process starts. Because this microbial process doesn’t require oxygen and the lactobacillus are resistant to salt, we can ferment foods in an environment that mitigates bad bacterial or mold growth while allowing the LAB to flourish.

Why lacto-ferment anything?
Lacto-fermentation has several talking points, but let’s briefly discuss the most obvious: preservation. By fermenting a food, its usable life is often vastly extended. At Pro Home Cooks, we do our best to cook seasonally. Fruits and vegetables that are in season are often cheaper, more delicious, and purchasing them supports local farmers. By fermenting at home, you can enjoy some form of in-season vegetables even after the season ends. It’s a great way to use up a big box of produce that is likely to spoil before you can consume it fresh. Anything can be turned into kimchi!

Fermented foods are also delicious. The increase in lactic acid greatly changes the flavor of the ingredient and adds a desirable tang. This new flavor is not necessarily better (though in some cases, it definitely is) but it is definitively different. For example, a fresh summer tomato is undoubtedly tasty, but one that has been fermented is delicious in a completely different way and has very different uses. Comparing fresh, raw cabbage and a mature sauerkraut is the easiest way to understand this difference. Both are delicious and have their respective place on your table.

Lastly, fermented foods are a great way to introduce more varied bacteria into your gut microbiome. Lactobacillales includes dozens of different lactic acid bacteria, all of which will diversify the microbiome in your stomach. There is plenty of research discussing how a healthy microbiome affects overall health, if this is a subject that interests you.

How to lacto-ferment:
There are many ways to begin fermenting at home, and some projects are more involved than others. However, the most basic fermentation projects follow some core concepts. The idea is to take your prepared ingredient, submerge it in a salt brine, and allow it to ferment in a cool, dark spot until it’s ready to be eaten. Easy projects to begin with include a simple sauerkraut or some half-sour cucumber pickles. Here are some step-by-step instructions:
- Wash all tools and the chosen fermentation vessel with soap and very hot water and dry with a clean towel.
- Prepare the fruit or vegetable by washing and cutting it to the appropriate size.
- Mix salt with cold water to create a salt brine. 2% salinity is the suggested starting place. This means 2 grams of salt for every 100 grams of water. It is crucial to use a scale in this step.
- Place the fruit or vegetable in the fermentation vessel and cover it with enough brine to completely submerge the ingredient. To keep everything below the water line, use a fermentation weight, small dish, etc.* Be sure to leave at least an inch of space at the top of the container as the contents will increase in volume as CO2 is produced.
- Cover loosely with a lid, cheesecloth with a rubber band, etc. If using a screw-top lid, do not tighten the lid completely.
- Place ferment in a cool, dark place for about 1-3 weeks. Check on it daily and “burp” (open the lid) the vessel if necessary to release any pressure from built-up CO2. This will help prevent any leaking mishaps. Look for any discoloration, mold, yeast, or off-smells that will indicate your fermentation has been contaminated. When you are happy with the state of your ferment, placing it in the fridge will essentially halt the process.
*If you do not have an item to weigh down your fermentation, fill a ziplock bag with more brine and set it on top of your ferment. It’s important that the brine is the same salinity as what is in the rest of the vessel so as to prevent dilution with any leaks.

Additional tips:
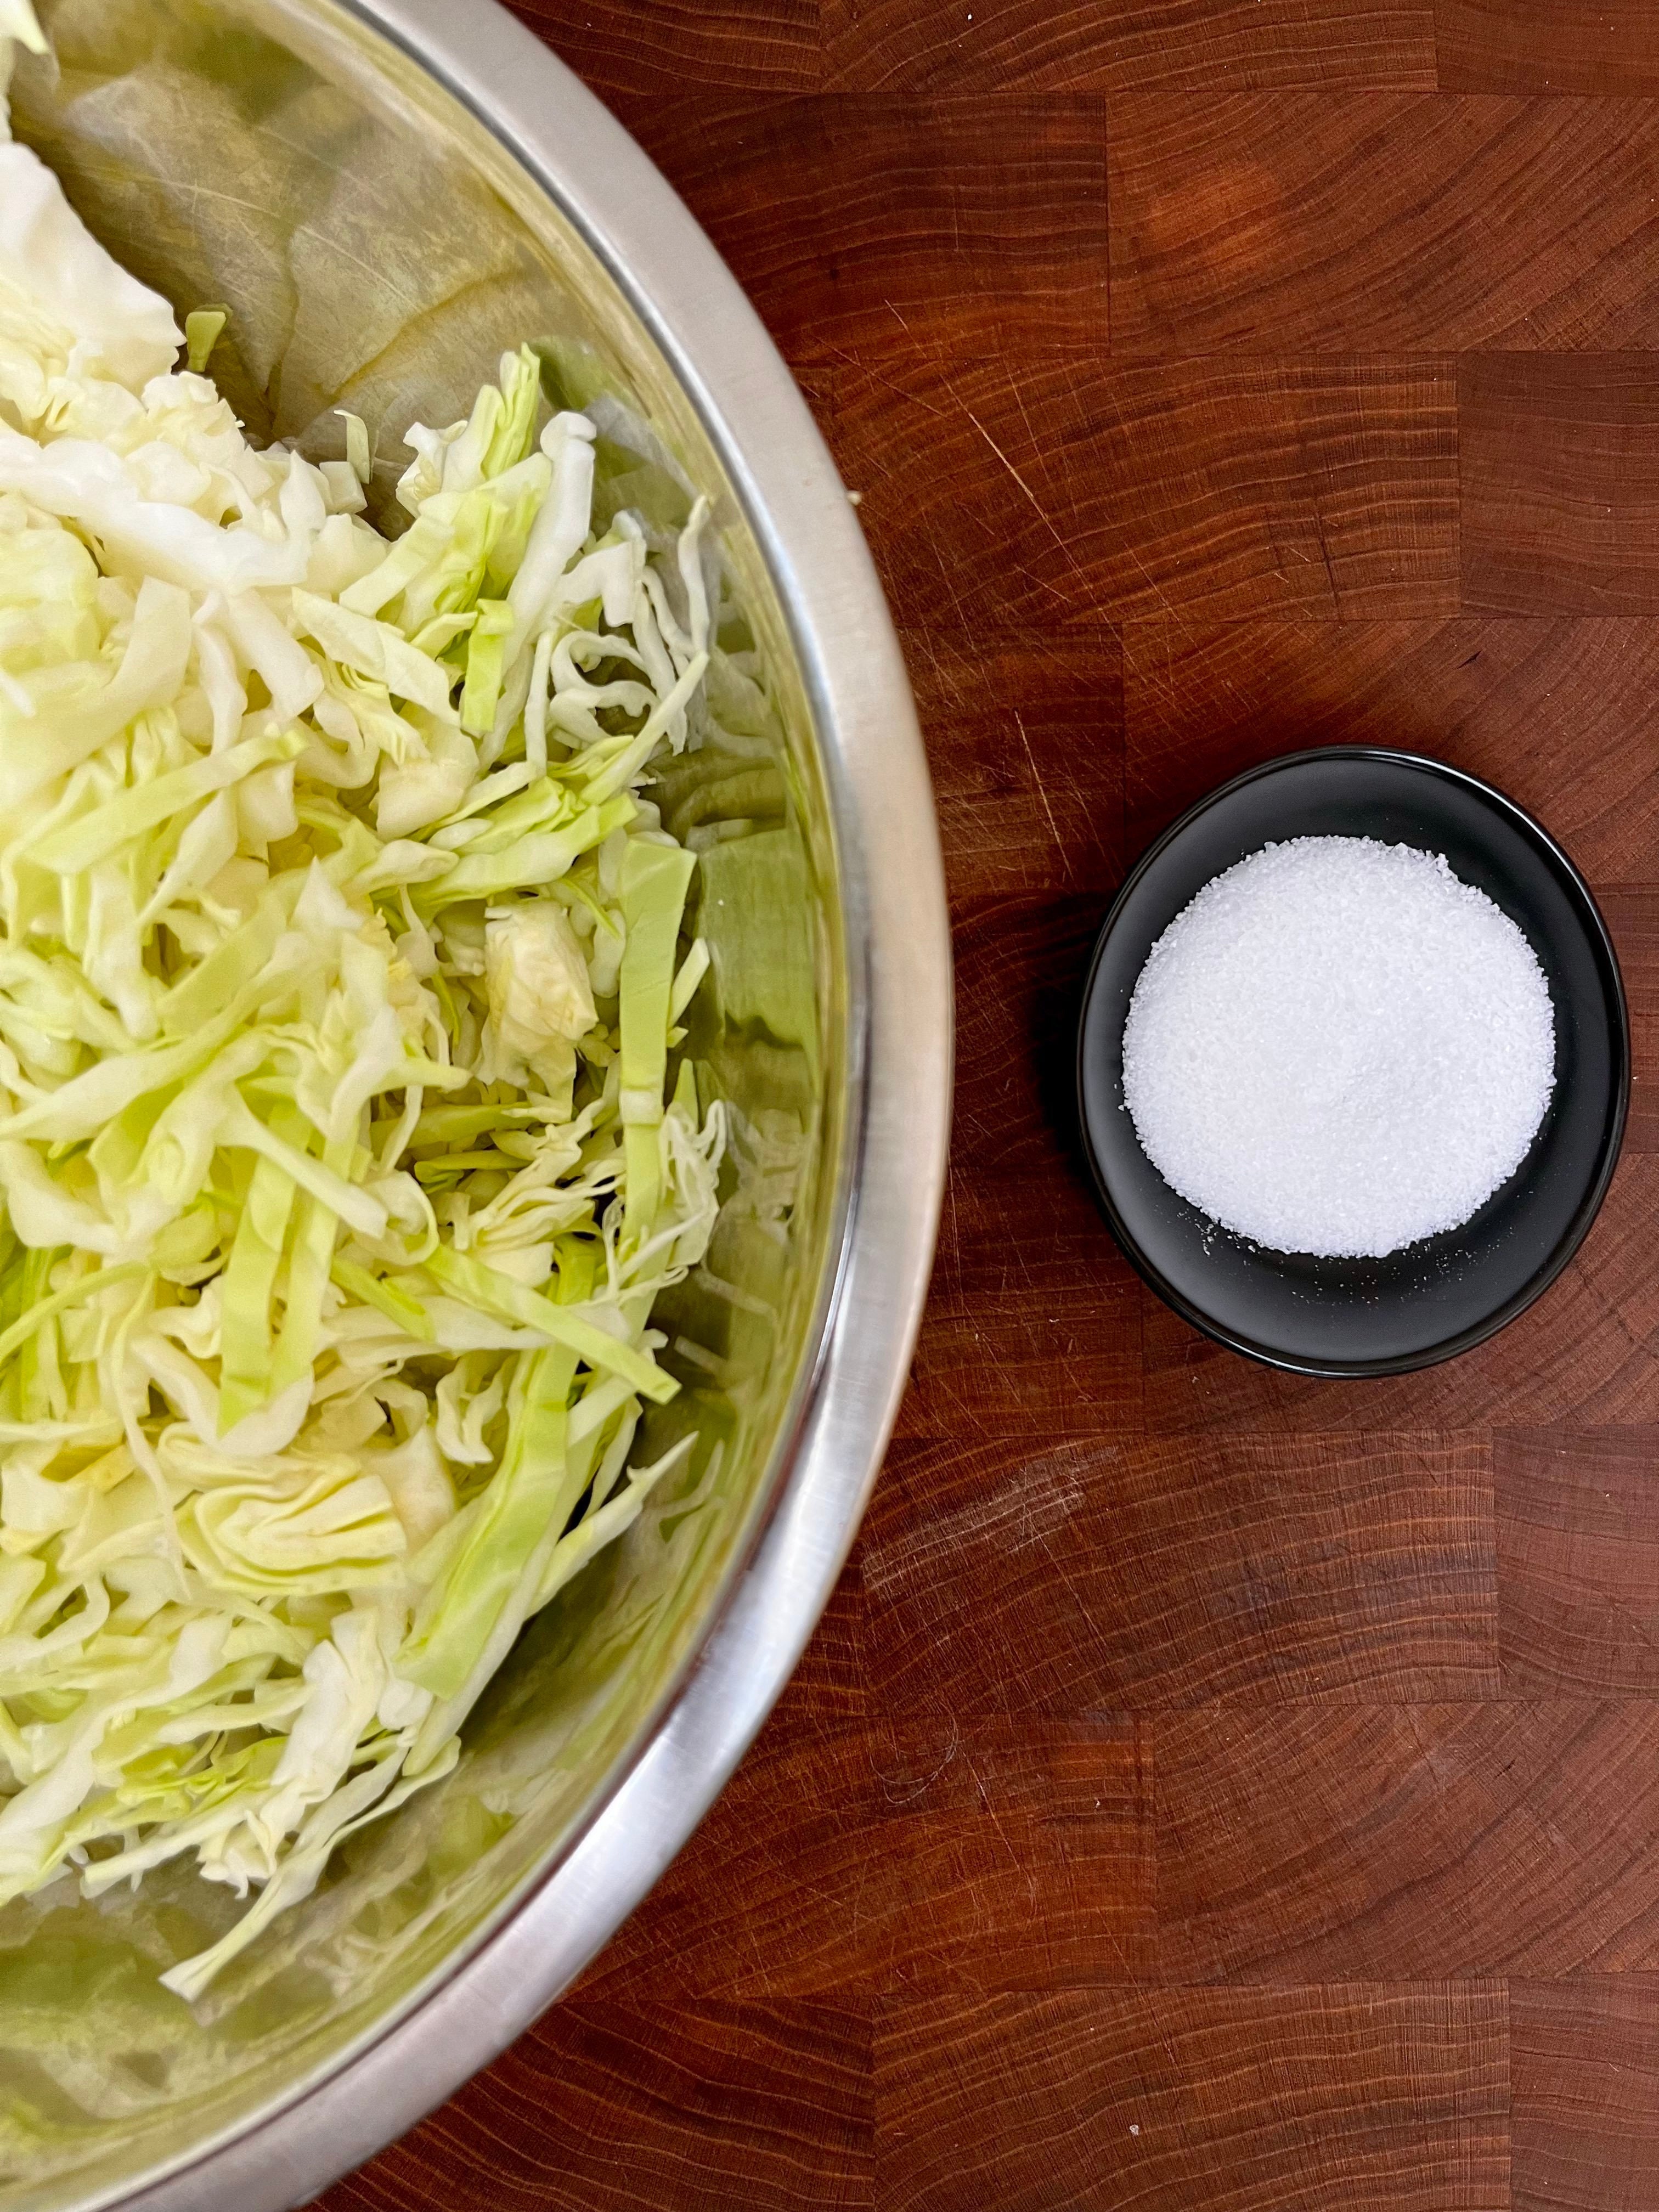
- For foods that will create their own brine, like cabbage for sauerkraut, measure 2% salt by the weight of the ingredient. Most fruits and vegetables are mostly water, so this will ensure that the brine is the correct salinity for fermentation. Example: for 500 grams of chopped cabbage, massage in 10 grams of salt.
- Check often for mold, yeast, or any grayed/mushy fruits and vegetables. It sucks to throw away a contaminated ferment after 10 days of fermentation, but getting sick would suck even more. When in doubt, throw it out. You can always try again!
- Temperature highly affects the fermentation process. Depending on the month or the state of your kitchen, the number of days to completion can widely vary.
- It’s okay to taste your ferment to check how it’s progressing! This is easier for some foods than others, but there’s no harm in it as long as you use a clean utensil.
- Label and date each ferment. It’s important to keep track of how long each product has been fermenting. Losing track could easily mean over-fermenting and ruining a container of tasty stuff.
Use this basic process to experiment with fermenting anything and everything. Start with something like cucumbers, but expand to radishes, berries, apples, etc. Try other, more complex fermentation projects, like homemade kimchi! It becomes a highly gratifying activity in the kitchen and a way to discover completely unfamiliar flavors.
TOP ARTICLES

By Brandon Muhawi
Senior Food Writer at Pro Home Cooks
Published
Sourdough Baking School
Master the art of sourdough bread baking in the most comprehensive baking class on the internet. This class features over three hours of baking content to help you start your sourdough journey.
See More